Thinking of upgrading your adhesives? Tired of those afterwork aches associated with bending, kneeling and standing? Concerned about wastage and health & safety impacts? Here at TensorGrip®, we understand the struggle our customers face in everyday joinery work. That’s why we’ve pioneered research to develop a variety of spray pattern technologies to yield top results with an unparalleled ease-of-use.
It’s true: we’re on a mission to make work easier, safer and more comfortable for thousands of joiners the world-over. Aside from pioneering cleaner, smarter adhesive solutions; we’re making our mission a reality with a variety of spray pattern technologies, each designed to perform across various tasks and substrates.
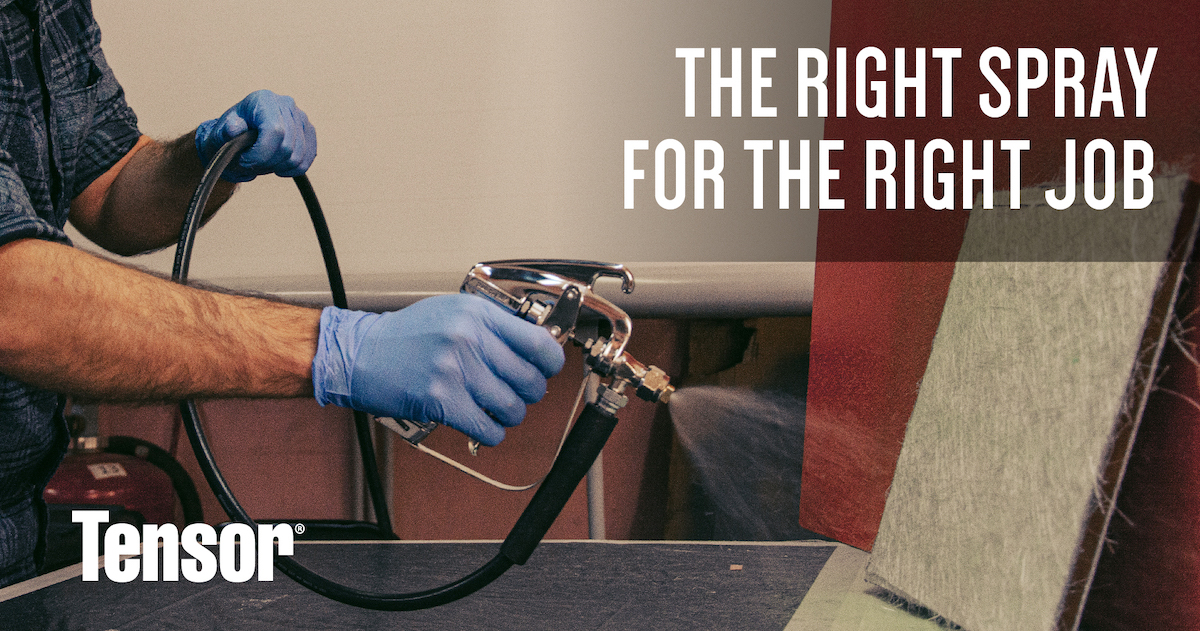
Let’s take a look at our 4 spray pattern technologies, each identifiable according to their own unique icon on the label of your canister or aerosol spray:
- Web Spray: The easiest visual comparison that can be made to a Web spray is that of a spider’s web, hence the name!
- Mist Spray: Mist spray adhesives are released from the container as a fine mist, which creates a light and consistent droplet pattern on the surface it is sprayed upon.
- Pebble Spray: Pebble sprays are similar to Mist sprays however the pattern is made up of larger droplets, but still giving a smooth and consistent pattern on the surface.
- Snowflake Spray: Snowflake spray adhesives have a high build, large flake spray pattern which resembles snowflakes across the surface for single-sided bonds.
Regardless of the job you’re working on, please follow our most important piece of advice: always check what type of spray pattern your adhesive has before spraying! It is imperative that you ensure what type of spray pattern the adhesive will be released from the container in. Failure to identify this can lead to improper applications and undesired results.
Getting Started with Spray The Correct Way
The innovative formulas seen in TensorGrip®’s Joinery Range break down barriers presented by traditional bonding methods, eliminating the need for roller & brush. Using the spray gun you are completely in control of how much glue is used, resulting in an even spray pattern the way you want without the fuss and inconsistently that comes with using hand-applied adhesive.
Let’s get started with some pro setup tips:
1. Screw the larger hose nut to the gun thread (clockwise) and fully tighten with a spanner. Check that the hose is securely attached.
2. Screw the smaller hose nut to the canister valve (clockwise) and fully tighten with a spanner. Check the hose is securely attached.
3. Turn the canister valve anti-clockwise until fully open. Check connections for leaks - if any occur, tighten connections. Do not turn the canister valve off until it is empty (this is to prevent adhesive curing in the hose and gun).
4. On initial use, or if the canister has been standing for over 12 hrs, the hose and gun may require a purge.
5. Pull the trigger and adjust flow by turning the adjustment screw at the back of the gun (anticlockwise to open and clockwise to close). Dispense and discard adhesive until a consistent spray pattern is achieved.
Get Started with TensorGrip®
If you haven’t made the move to spray, now is the time. Interested in learning more about the benefits of our spray based adhesives? Find out more about canister setup and spray tips here or check out our blog for more knowledge resources.
* Photo Credit to INTREY Polymer Systems