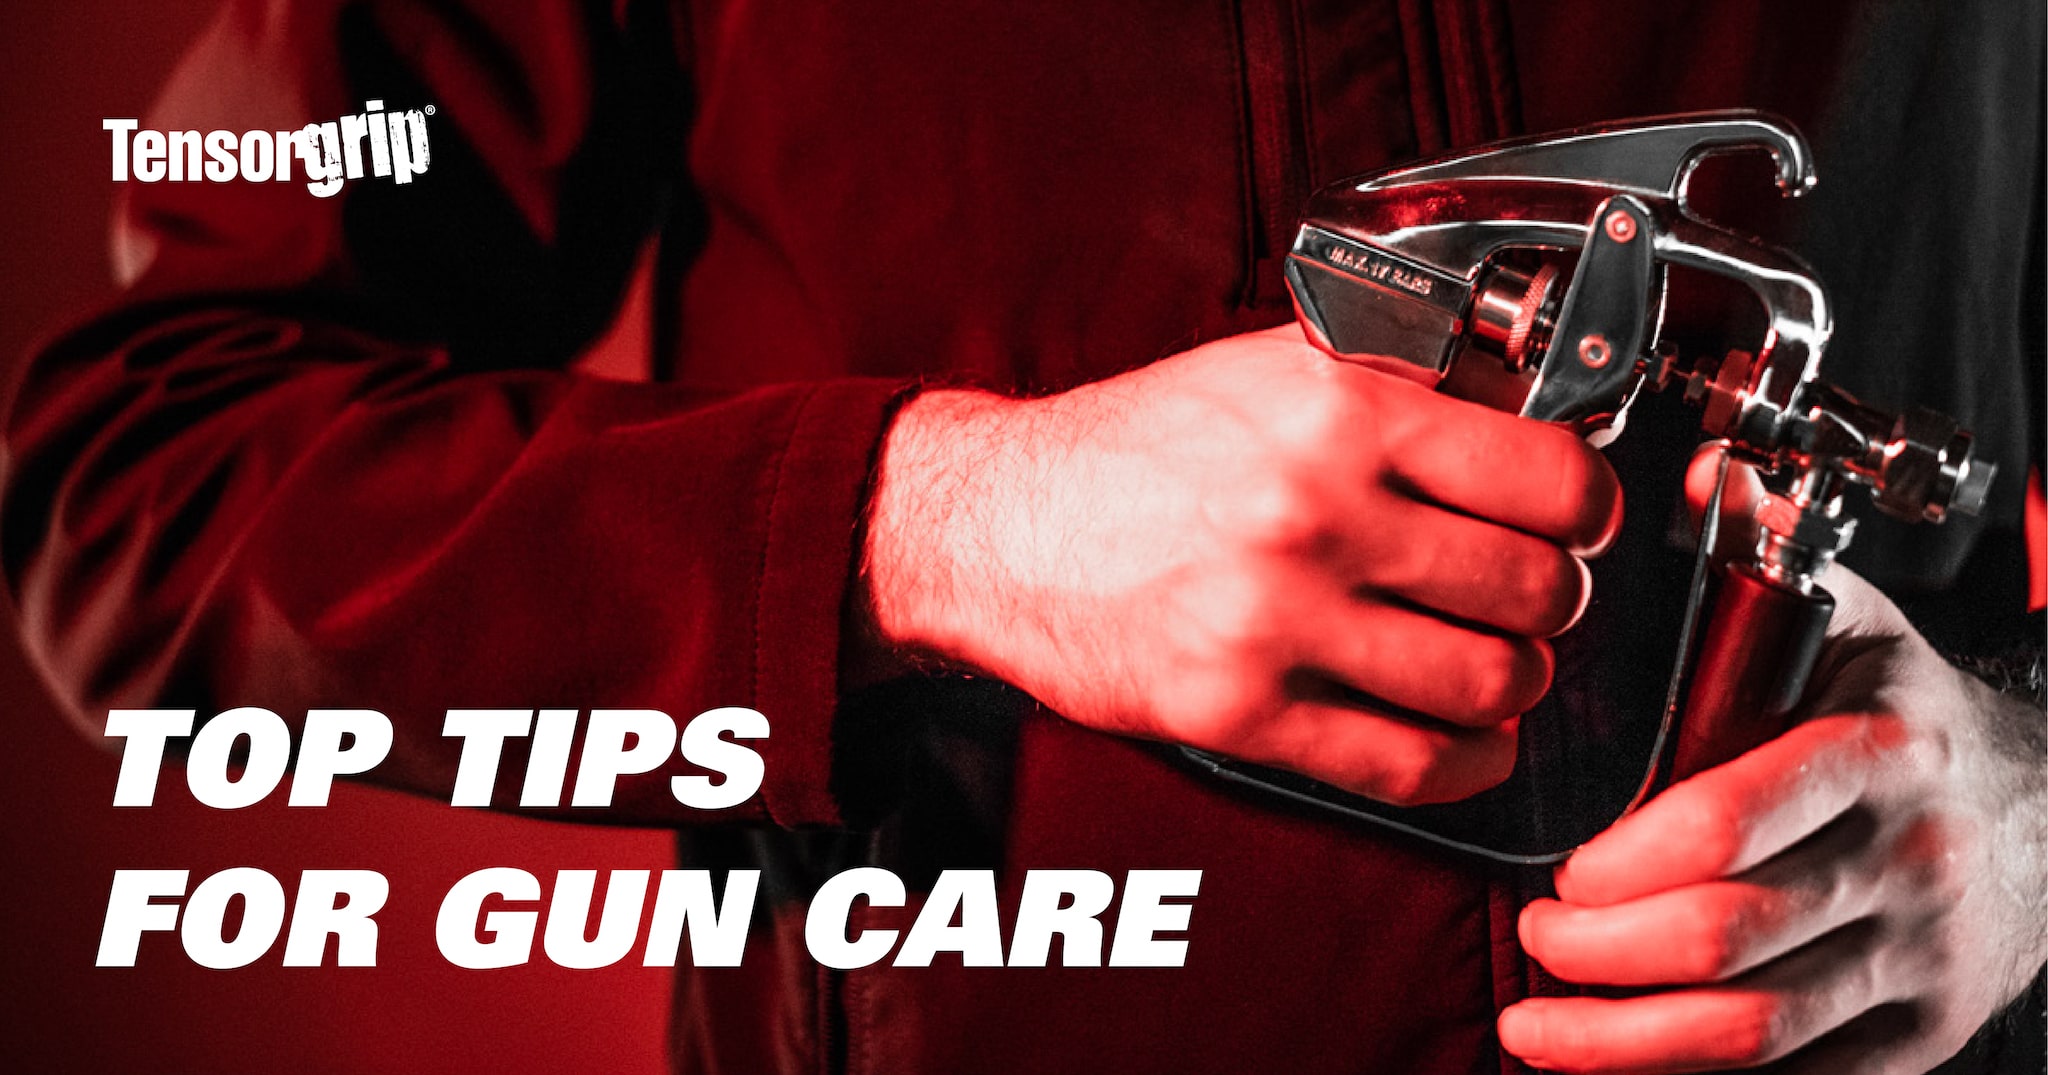
Here at Tensor, we know adhesives. We’ve taken our passion for innovation and used our expertise to create a canister-based system that offers ease of use that is simply unrivalled. However, working with adhesives systems requires an element of care to protect the integrity of the gun system and the adhesive itself.
We firmly believe that if you look after your canister system’s gun, it will look after you. This week, we look at some essential steps you can take to protect your product in the event of any leaks or clogging in your gun. Keep reading to get some of Tensor’s top tips for good gun care…
Experiencing a Leak? Get it Fixed
Whilst Tensor’s range of canister systems look just like gas canisters, they are packed with a range of acutely-engineered chemicals that make up your adhesive. This combination of technologies and bonding compounds requires some care. Indeed, in the event that your spray gun is leaking, it is essential to take rapid action to protect your gun, your canister and your adhesive. Let’s take a look at Tensor’s 4 point checklist for fixing leaks:
1. Step One - Connection Check:
If you’re experiencing issues with leaks, you should start by checking the hose connection to the gun. Does your hose swivel? If so, it is too loose and needs to be tightened.
- Why is this step important? The answer lies in how the gun and hose are designed to join almost seamlessly together. This is to provide the adhesive with a straight, unbroken trajectory to the gun tip. Any breaks or gaps in this line will mean the adhesive will leak out.
2. Step Two: Gun Tip Check:
Once you’ve carried out thorough checks on your hose connection, it’s time to check up on your gun tip. If adhesive continues to dribble out after the trigger is released, it’s likely you’ve got an issue. This can be fixed by simply removing the gun tip and cleaning with TensorGrip C101.
- Why is this step important? Over time, dried adhesive can build up on the gun tip. When this happens, the gun may not close properly, so the adhesive continues to dribble out after the trigger is released. To fix this, simply remove the gun tip and clean with TensorGrip C101. In extreme cases, a replacement tip may be required.
3. Step Three - Tighten the backing seal:
You’ve checked all of the connections on your canister system. Now it’s time to tighten the backing seal. However, be careful not to make this too tight, as it will cause the sliding pin to bind and the trigger will become stiff. Using a 10mm spanner gently tighten the nut ¼ turn at a time, testing the trigger movement between each turn.
- Why is this step important? The adhesive only passes through a very small part of the gun when being sprayed. To prevent the adhesive from leaking out of this area, it is sealed. This seal is held in place by a nut. Over time, this nut can become loose, causing the seal to move out of place.
4. Step Four - Tighten the Opposing Nut:
It’s time to take the final step in fixing your gun leak. Begin by ensuring the nut on the opposite end of the threaded rod is finger tight against the gun trigger. This will allow the pin to seal and prevent leaking. Do not tighten this screw with a spanner as this will break
Our systems are made to perform. However, as with everything in life, mistakes and leaks do happen. For all issues pertaining to your adhesive system, you can call on Tensor.
Need Back-Up? Trust Tensor
Here at Tensor, we’re proud to serve our customers with a full bank of knowledge and resources if things ever go wrong with their bonding work. However, we’re also here to help, no matter the issue. If you’re experiencing ongoing issues with leaks or if your issue hasn’t been addressed in this blog, please get in touch.